How to Create an Embroidery Personalization in Bespo?
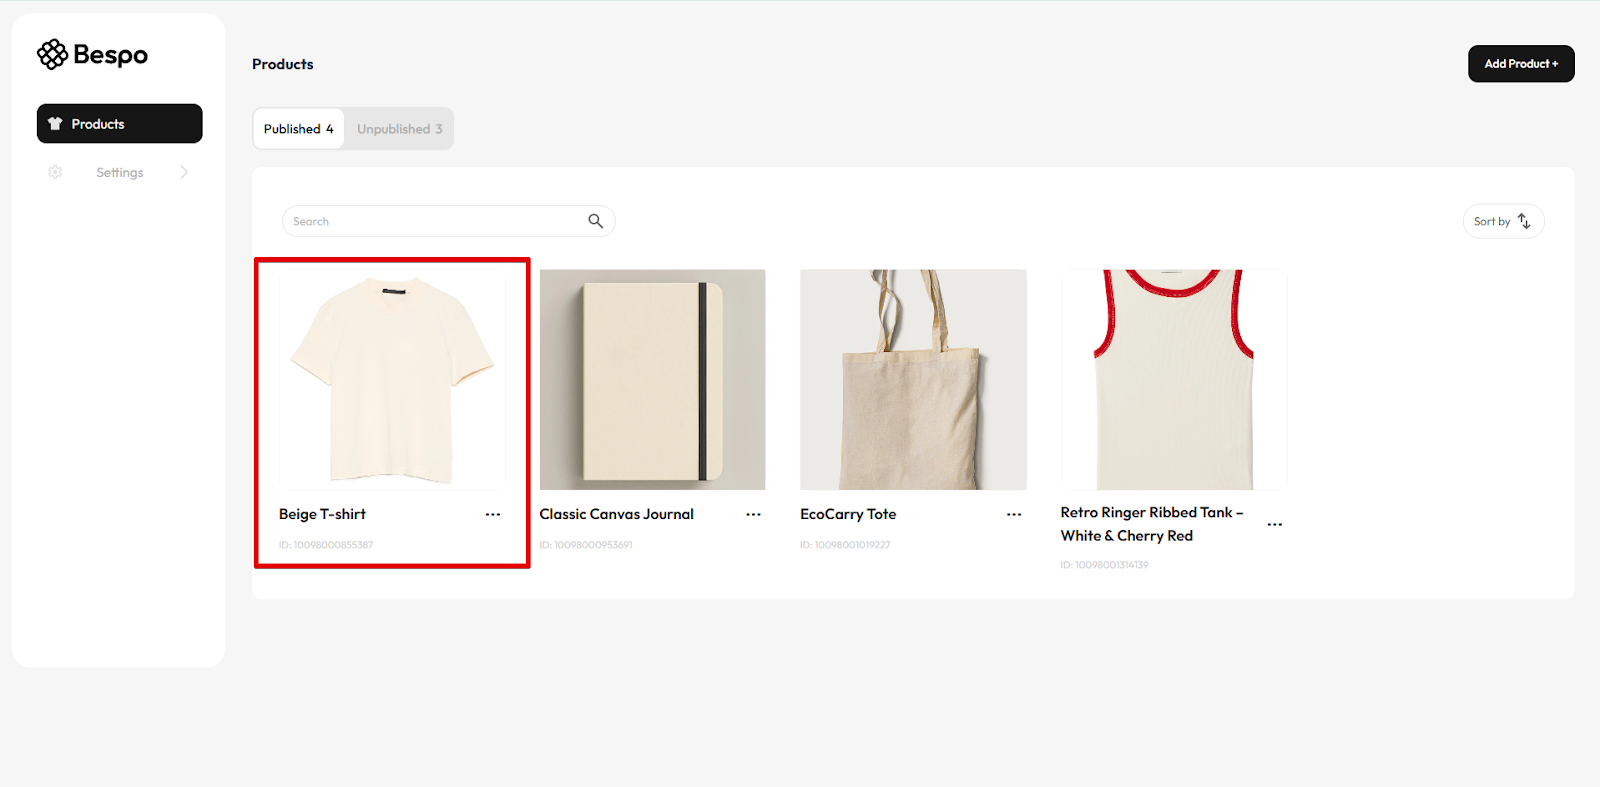
1) Open the product in Bespo
From Products, click the product you want to personalize.
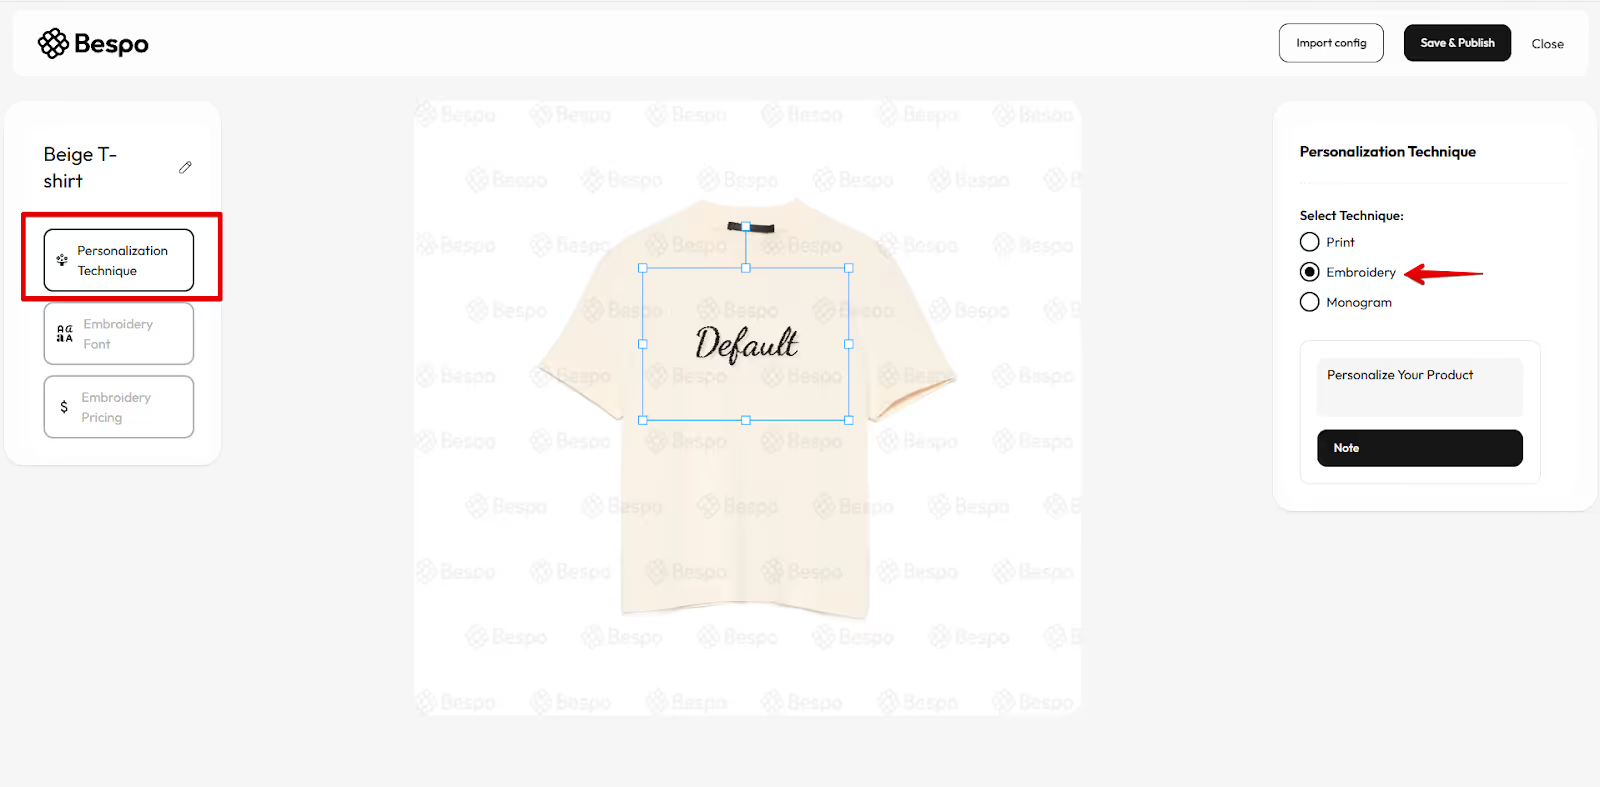
2) Choose the Embroidery technique
Click Personalization Technique on the left, then select Embroidery on the right.
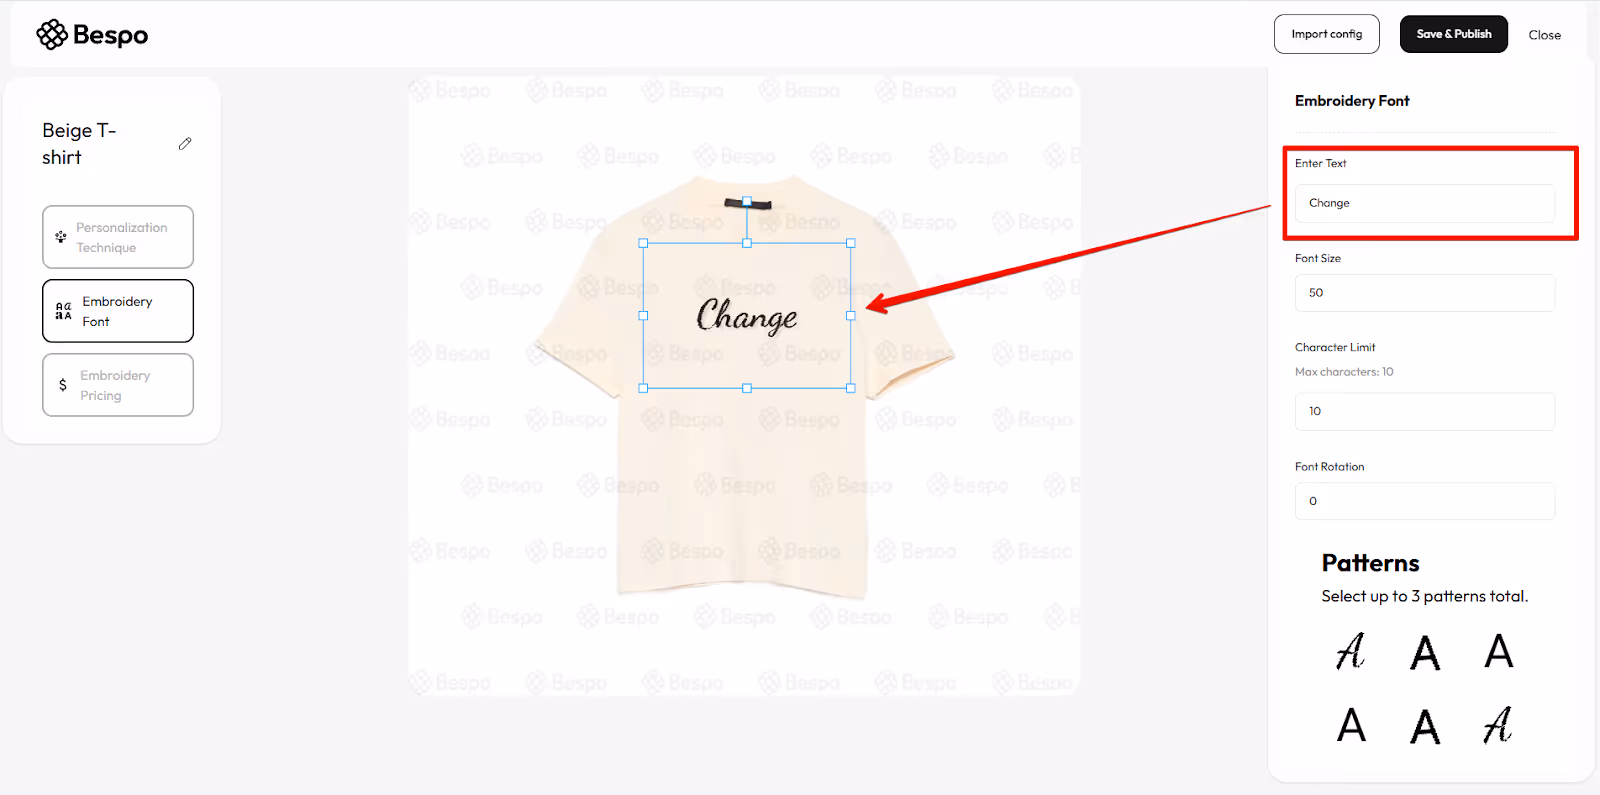
3) Open Embroidery Font
Click Embroidery Font in the left panel to configure the text settings.

4) Enter sample text
Type your sample text in Enter Text to see the live preview update on the product.
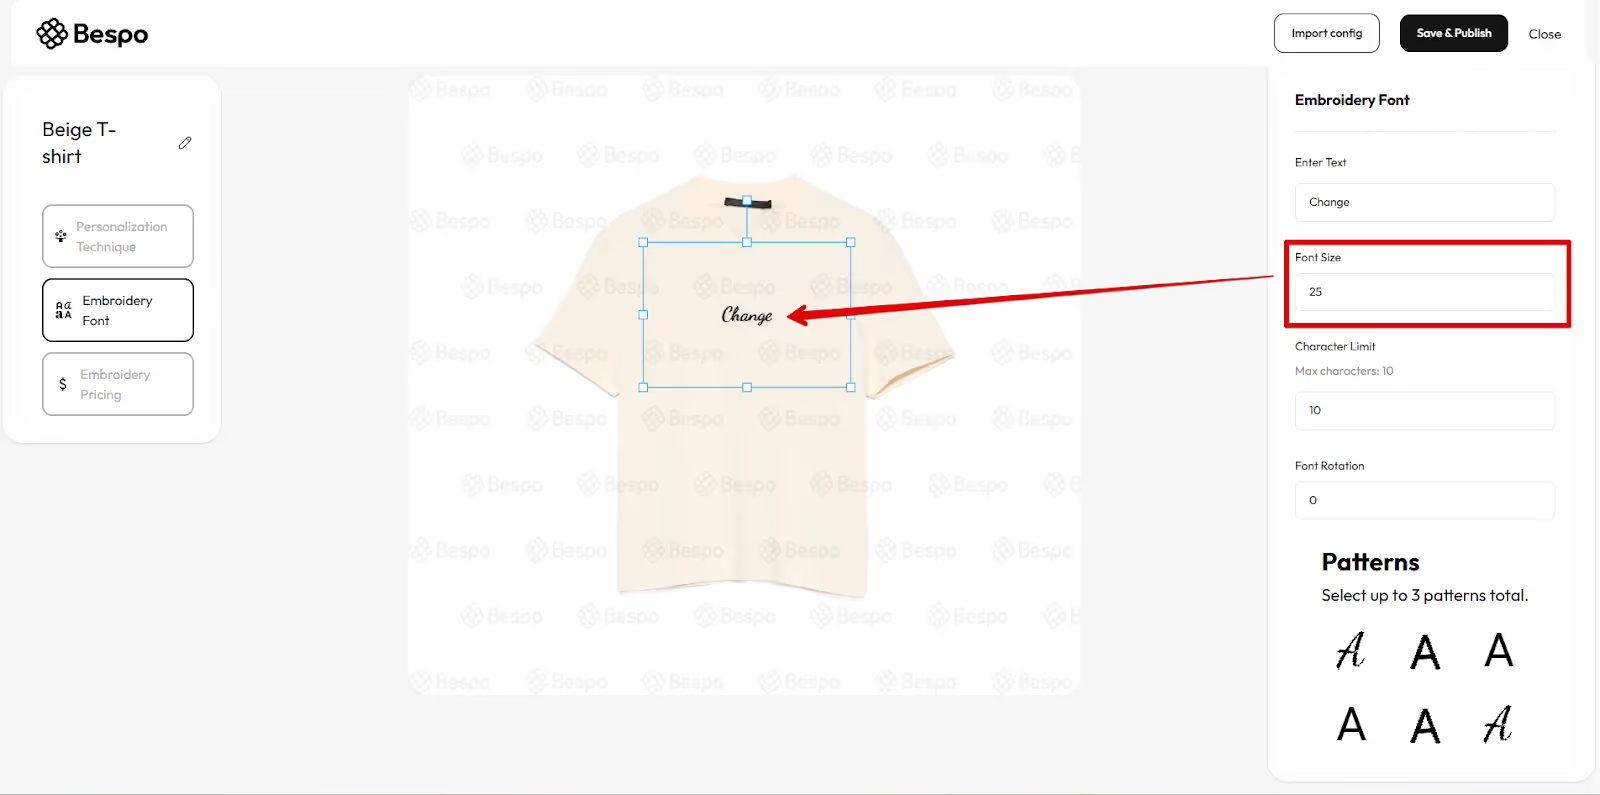
5) Set font options
In Embroidery Font, adjust:
- Character Limit (max characters customers can enter)
- Font Rotation (optional)
6) Choose stitch patterns
Under Patterns, select up to 3 patterns for the font.
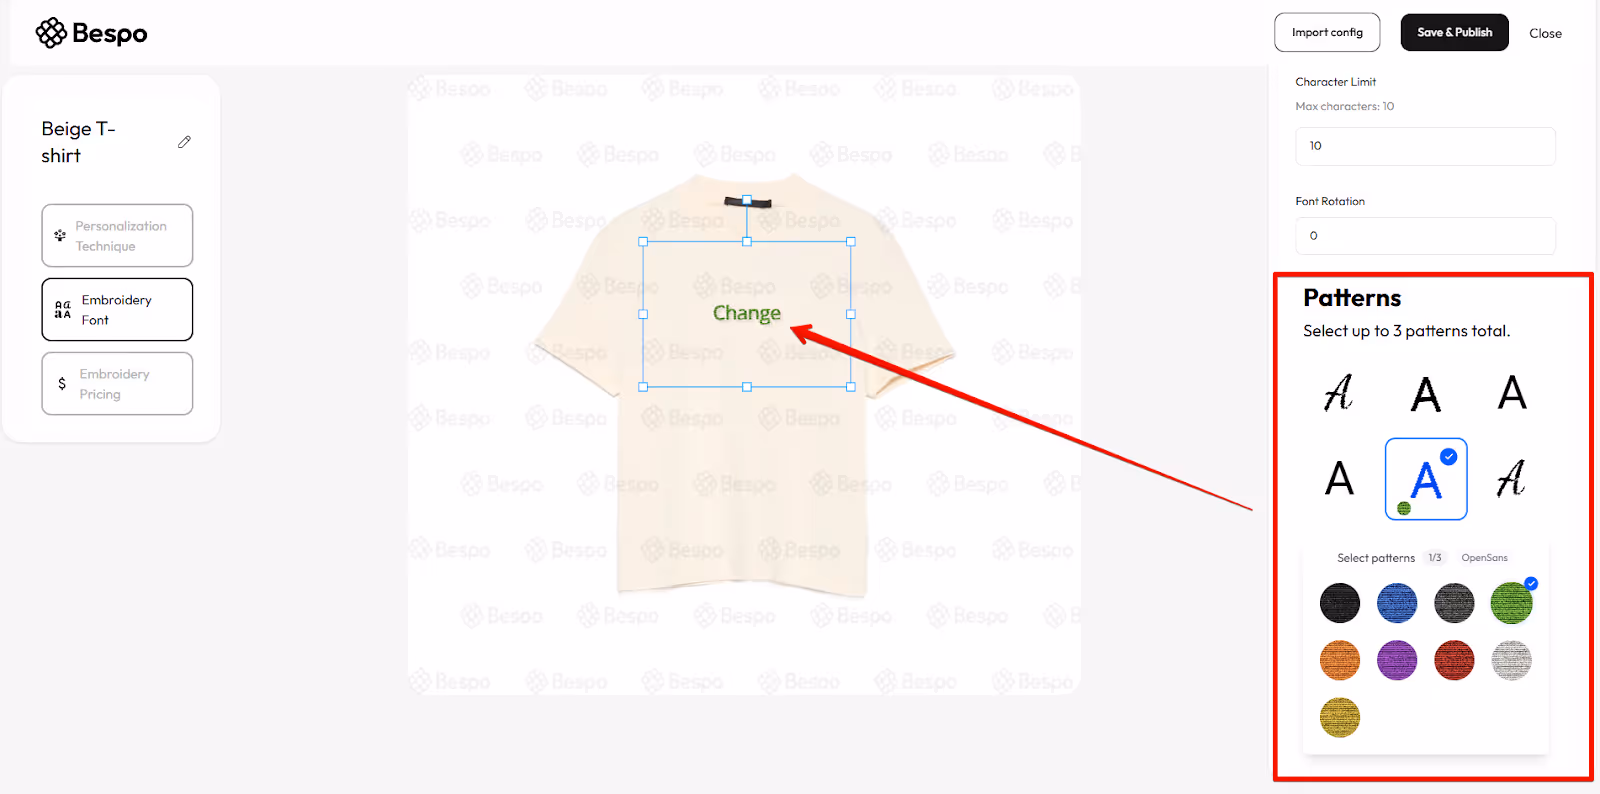
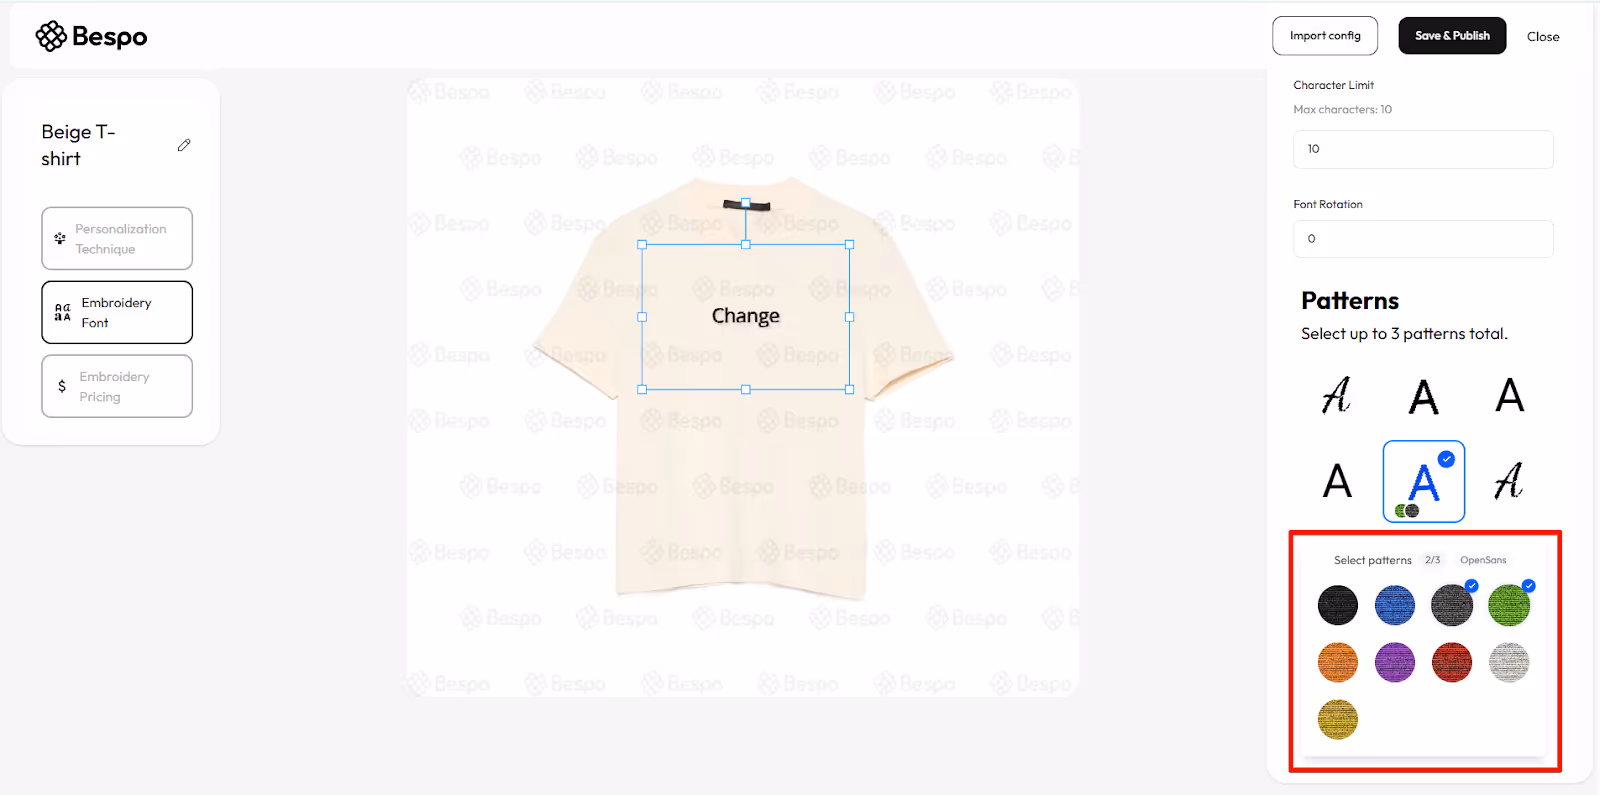
Tip: Hold CTRL (Windows) or ⌘ (Mac) to select multiple.
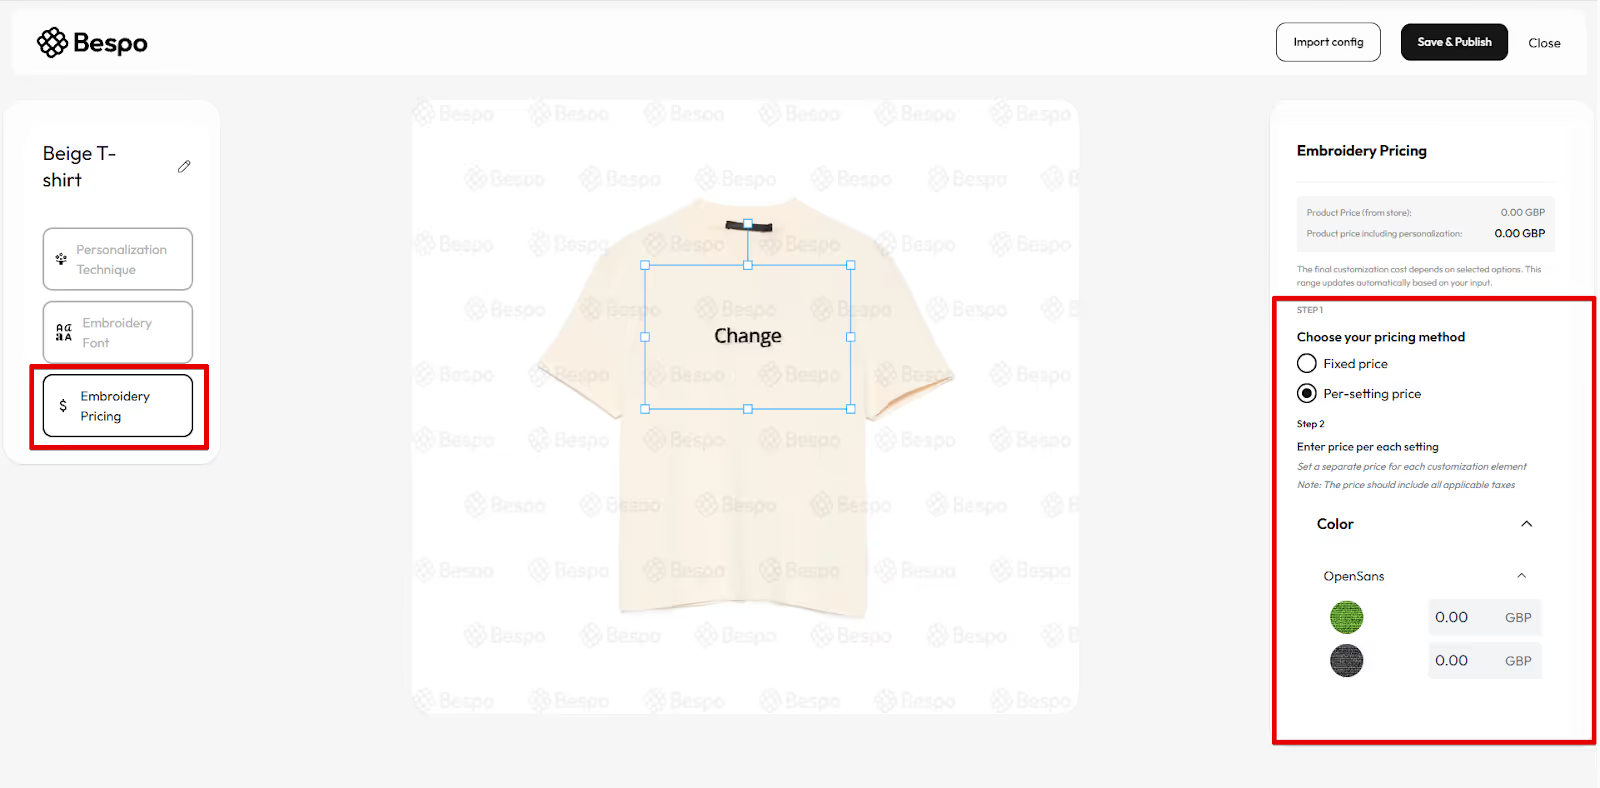
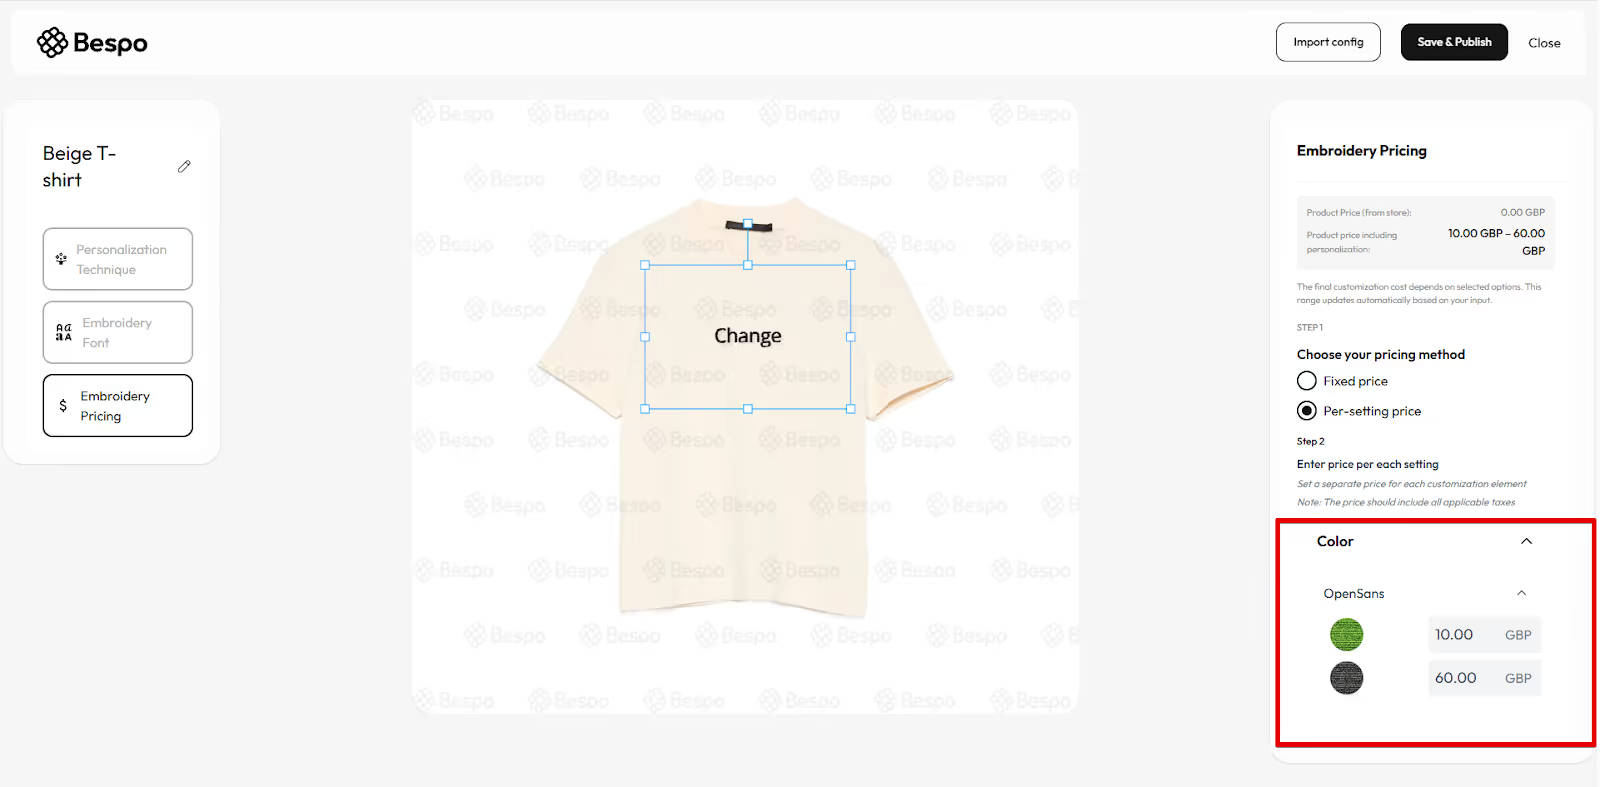
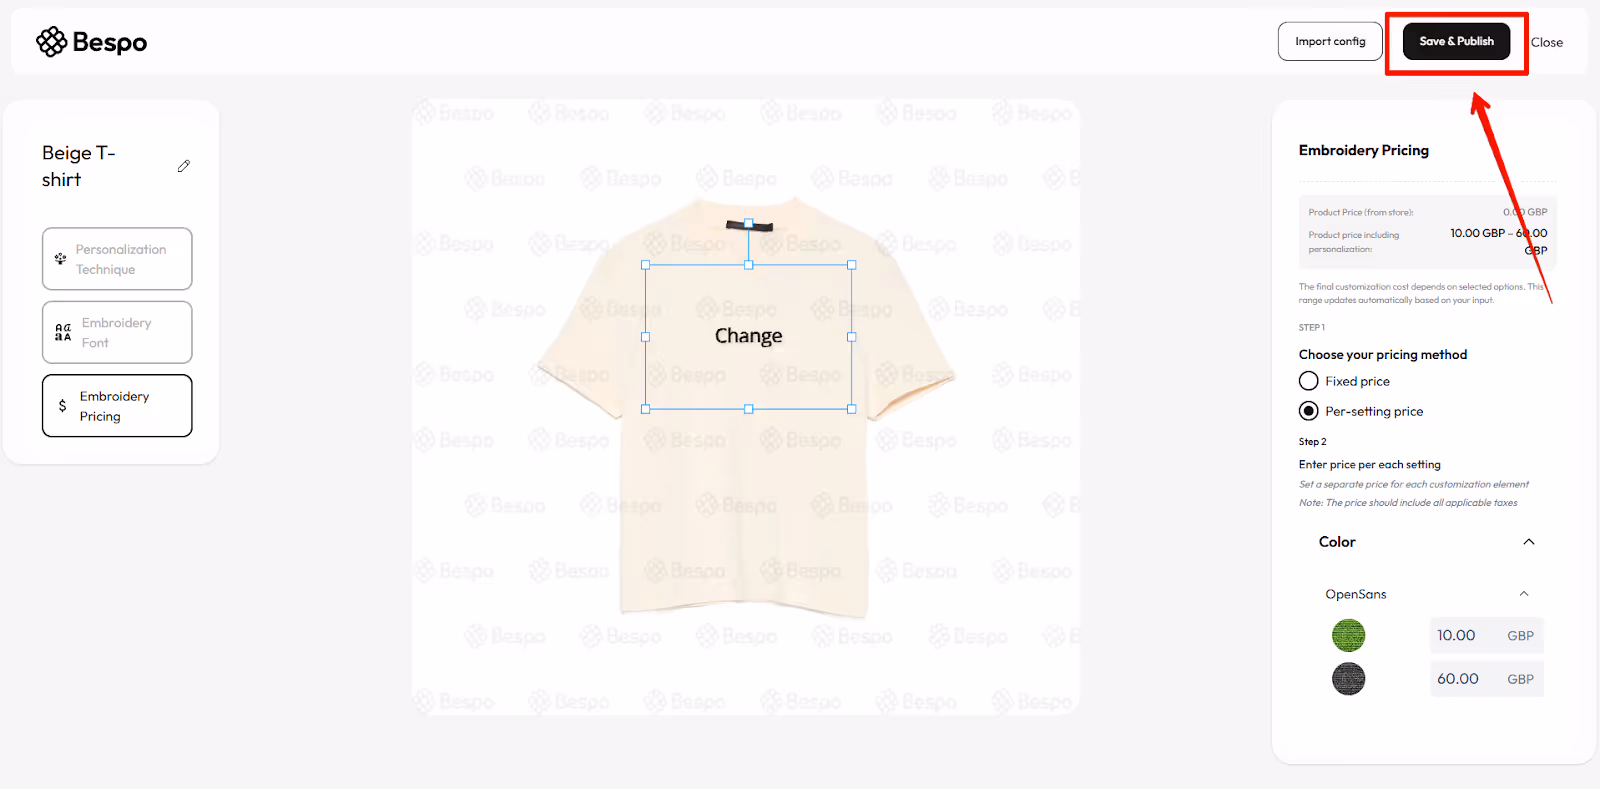
7) Set pricing
Click Embroidery Pricing in the left panel. Choose one pricing method:
- Fixed price is used when you want to set a single price for all embroidery personalizations.
- Per-setting price is used to set different prices per Color/Pattern. Prices should include applicable taxes.
8) Save & publish
Click Save & Publish in the top-right to make this embroidery personalization live on your store.
Tips
- If text looks too big/small, adjust Font Size or resize the blue bounding box.
- If a pattern or color doesn’t show, confirm it’s selected in Embroidery Font / Embroidery Pricing.
To change later, reopen the product in Bespo, update settings, then Save & Publish again.