How to Import Configuration from One Product to Another
Placing the text box correctly matters because it determines exactly where a shopper’s personalization will be produced on the item. Good placement avoids seams, collars, or edges and keeps the design balanced and readable.
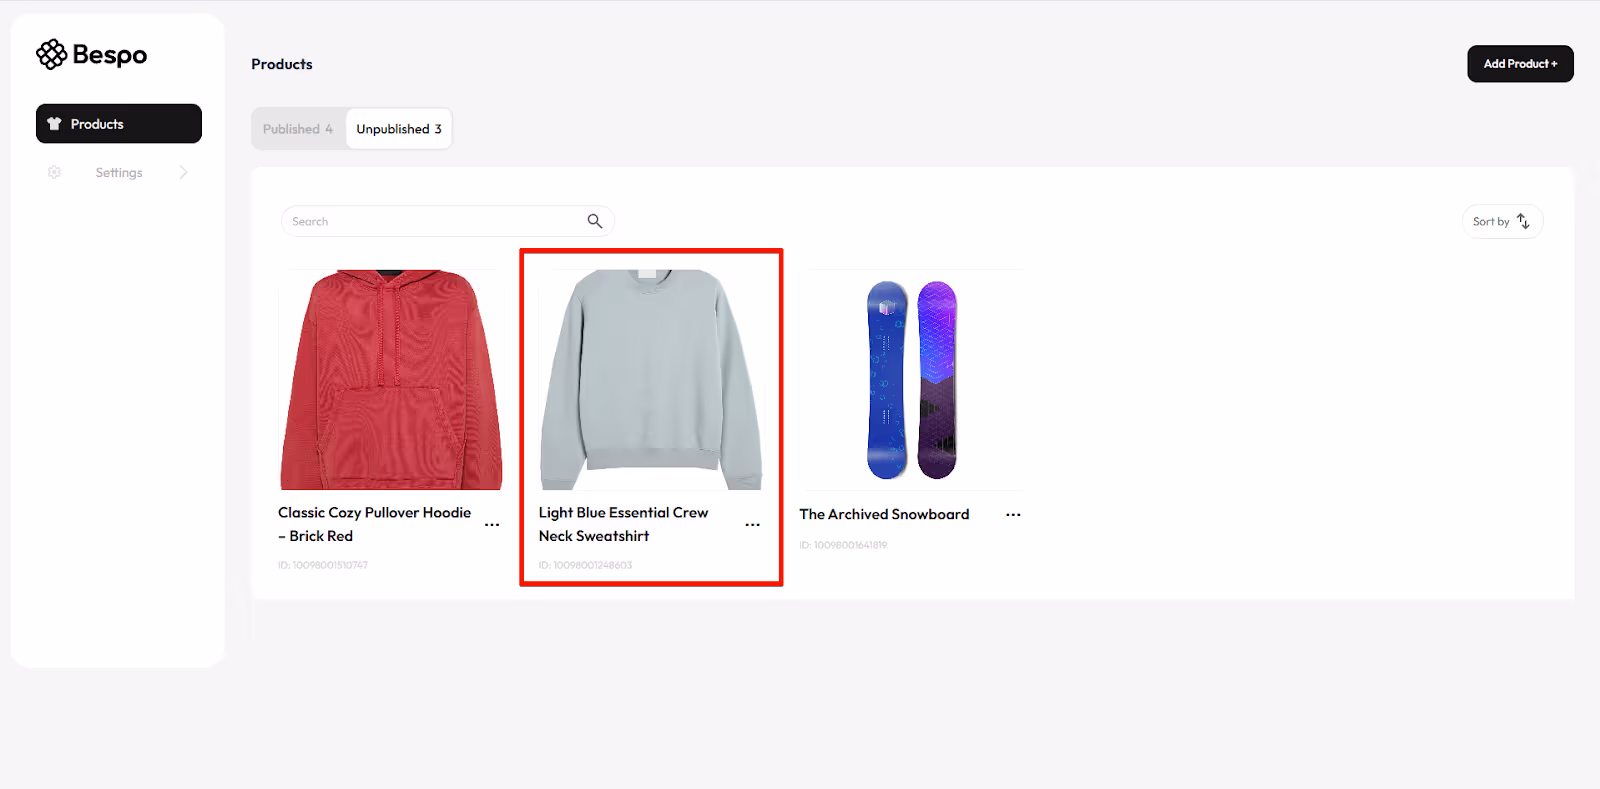
1) Open the destination product in Bespo
From Products, click the product you want to copy settings into (the product that will receive the configuration).
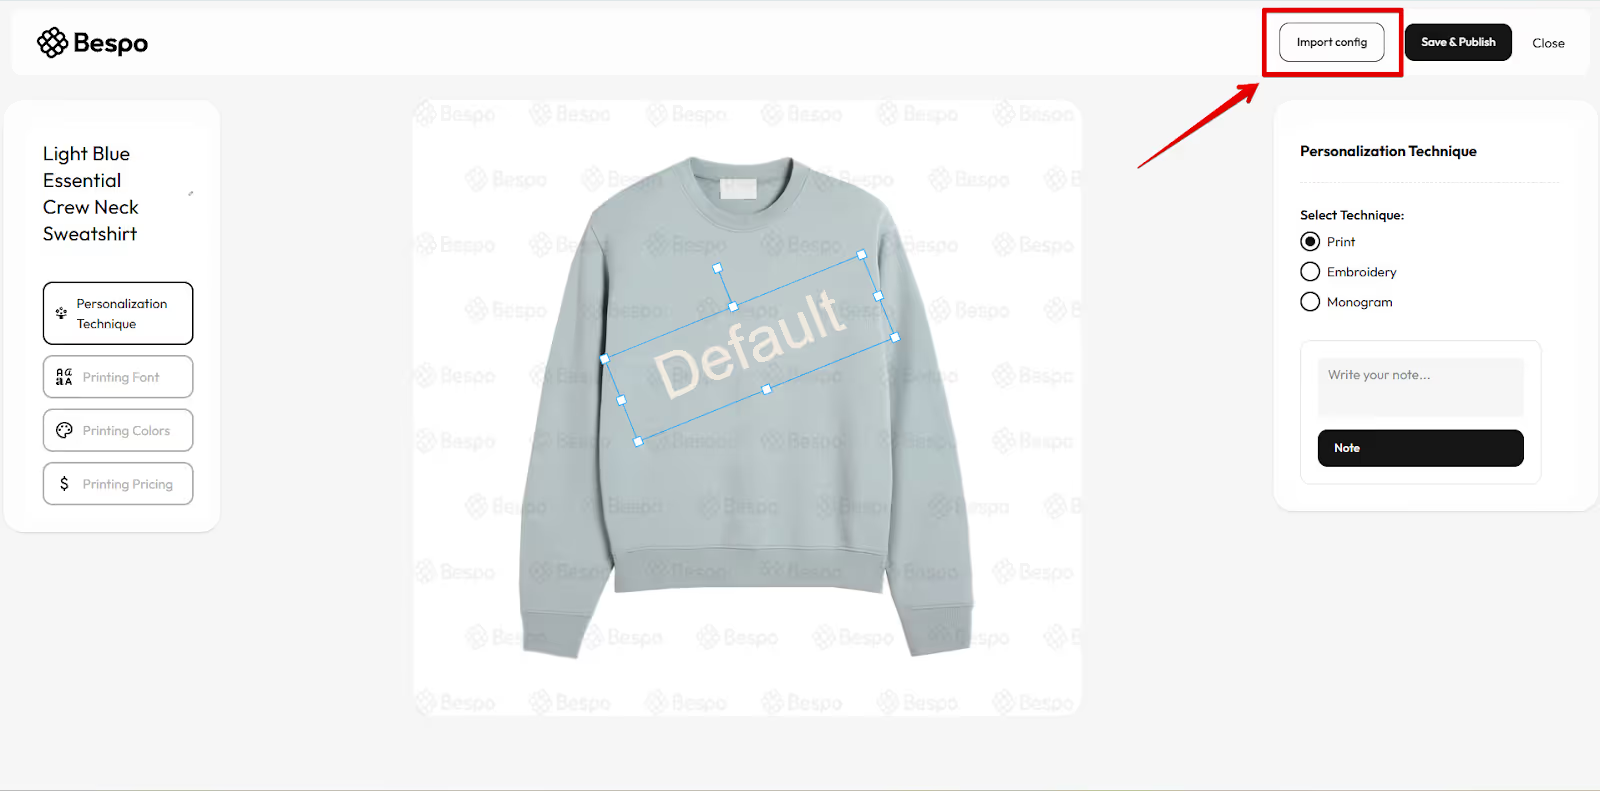
2) Click “Import config”
In the top-right toolbar, click Import config to open the import modal.
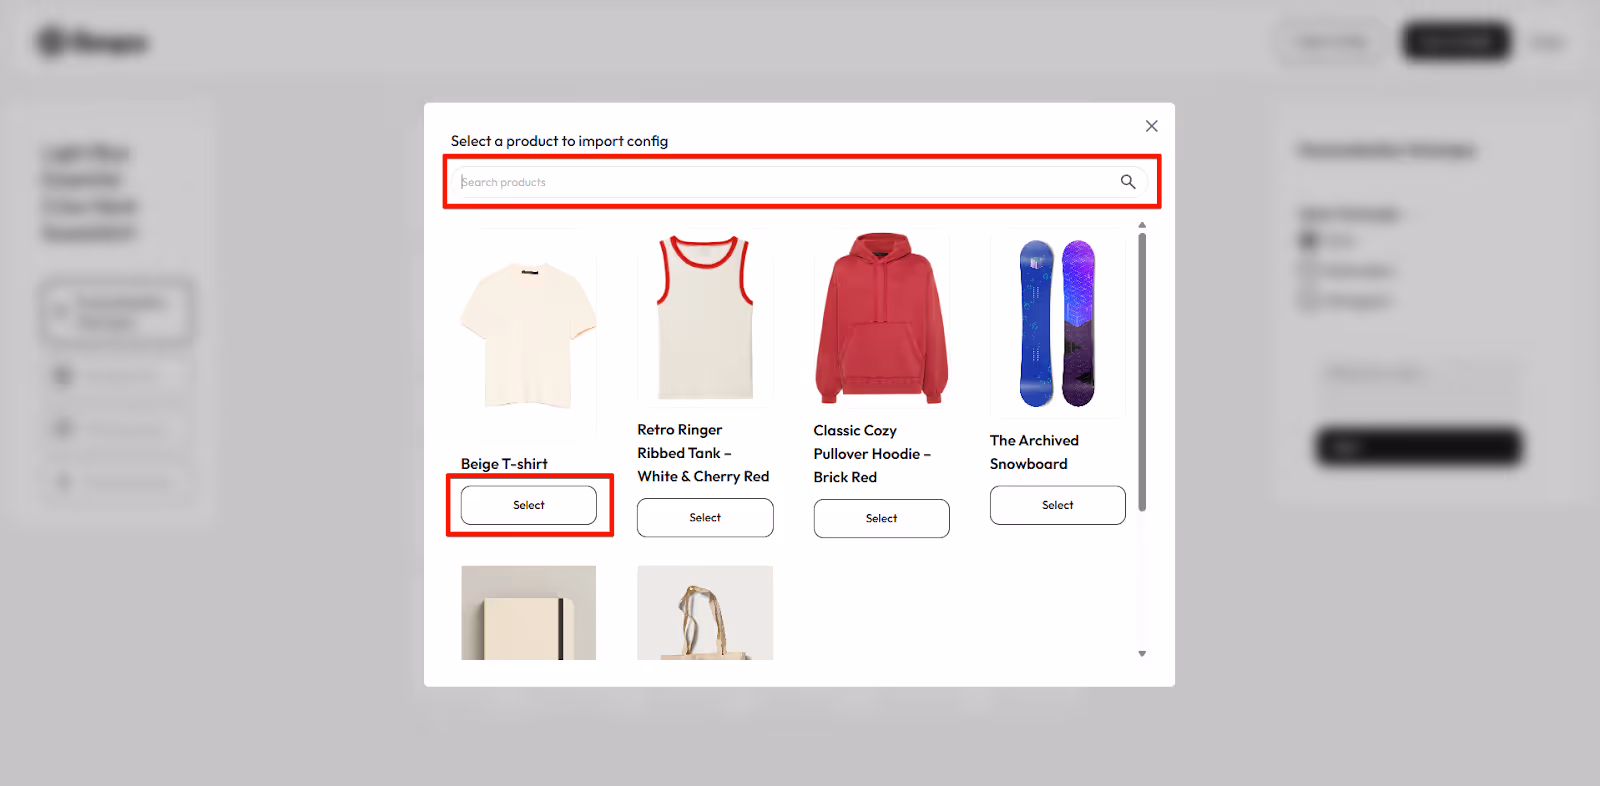
3) Select the source product
In the modal, find the product that already has the personalization you want to reuse.
- Use the search bar or scroll to find the product.
- Click Select on the correct product.
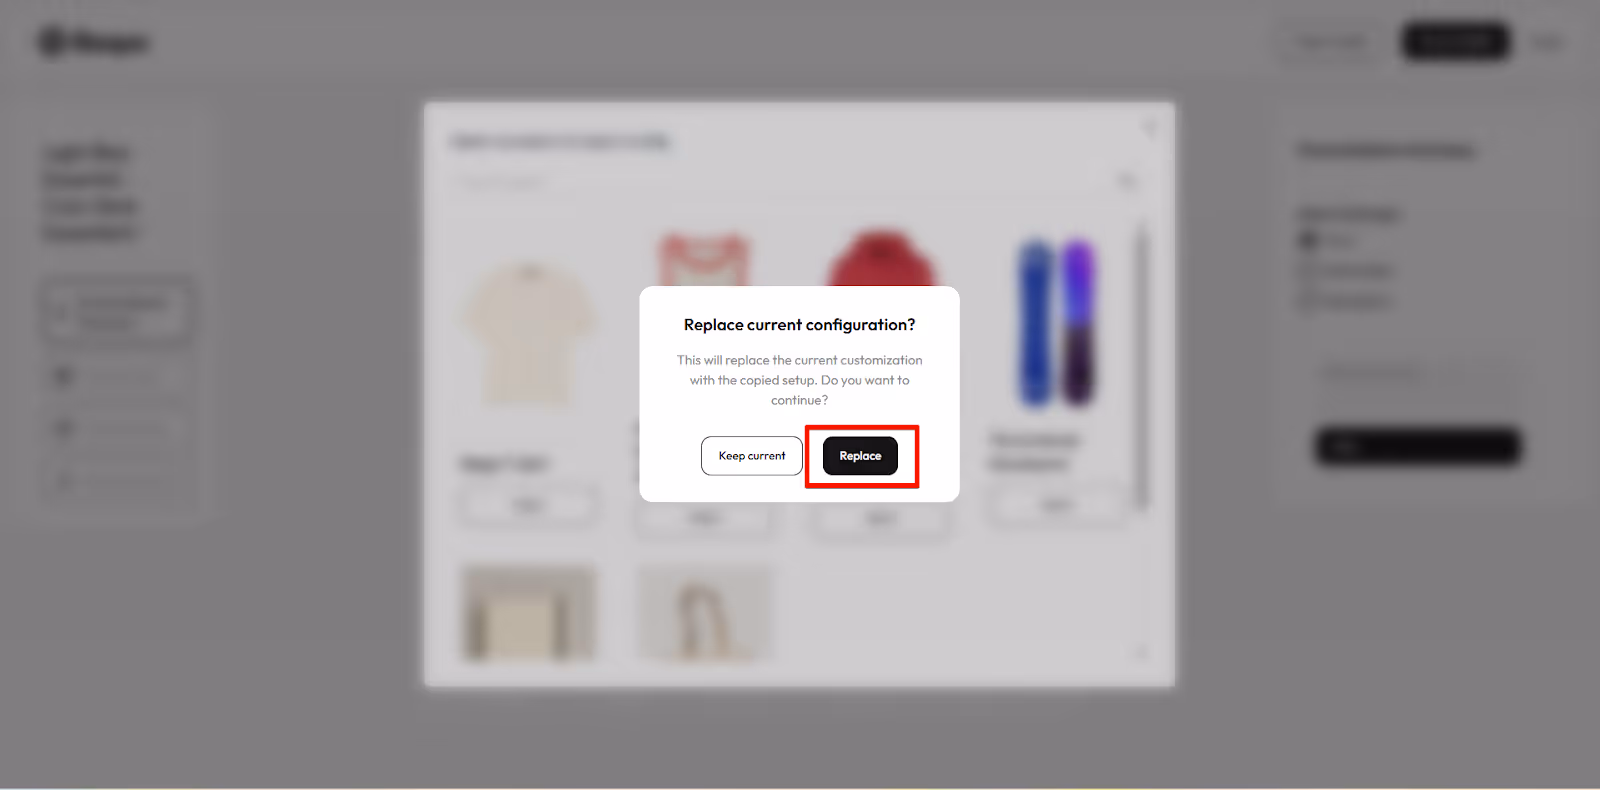
4) Replace current configuration
You will see a prompt to “Replace current configuration”
- Select Replace.
5) Check placement & preview
On the product canvas:
- Move/resize the blue bounding box if needed.
- Make sure sample text renders correctly and stays within the handles.
- Verify selected colors/patterns look right.
6) Confirm pricing
Open the relevant Pricing panel (e.g., Printing Pricing / Embroidery Pricing / Monogram Pricing) and confirm the imported method and amounts. Edit if necessary so prices include all applicable taxes.
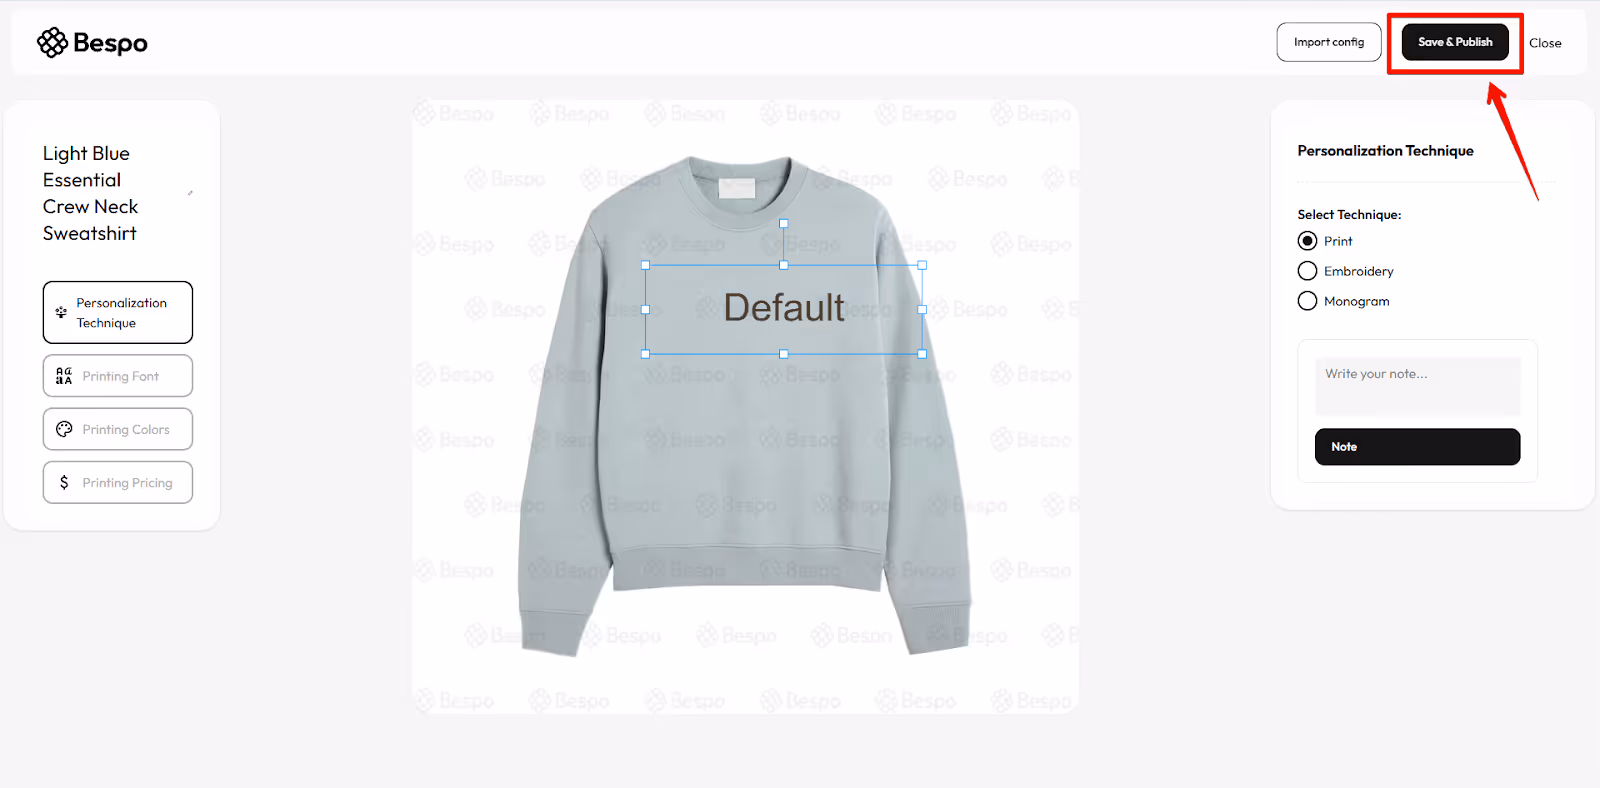
7) Save & publish
When everything looks good, click Save & Publish in the top-right to push the imported configuration live on your store.
Tips
- Start from similar products. Importing from a like-for-like item (e.g., tee → tee) reduces mapping or skipped settings.
- Unavailable assets. If a font or color swatch from the source isn’t available, upload or select an alternative before publishing.
- Check pricing. After importing, quickly confirm you brought over the intended method (fixed vs per-setting) and values.
- You can re-import. If you picked the wrong source, open Import config again and repeat the process.